Following on from a post in the r/monohearing SubReddit, I am going to add a quick blog post about mixing in mono and what I have learned now that I have an Osia implant in my left ear.
Okay, so the first part of the blog will detail how I used to mix in mono including the plugins I used and how they helped.
On the master channel, I would always include a plugin that can convert a stereo signal to mono. This immediately helps get all sounds in one channel. For this, I use Mastering the Mix – Levels (link) which can often be picked up relatively cheaply during sale time.
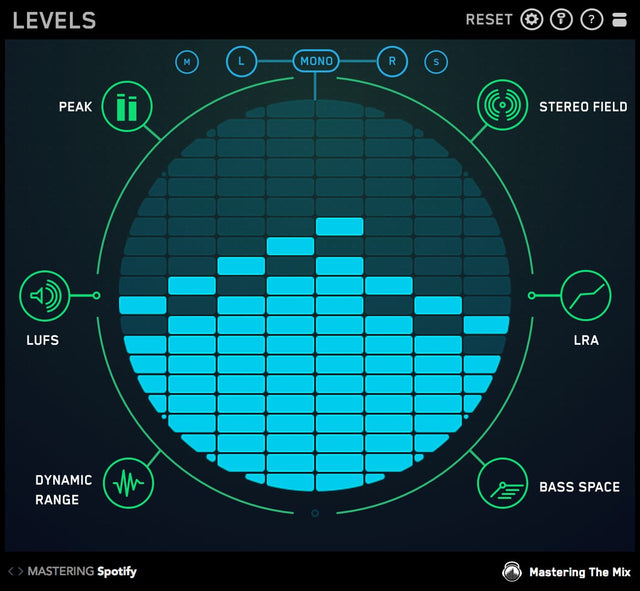
Levels contains a mono button towards the top centre of the plugin and also, a stereo field analysis button towards the top right. While mixing with one ear, I would have this placed on the master bus (final channel slot in your DAW) with mono switched on. Towards the end of the process, after writing a track, you can turn this off to make sure that your stereo image looks fine.
Due to only having one working ear and mixing in stereo, I also add a limiter to prevent sound going beyond a certain threshold. This could be DAW limiter, Waves L2, Fabfilter L2, Sonible Smart Limit or any other decent limiter that can stop a mistake that could potentially create a really loud, deafening sound.
I would then place the free Izotope Imager (link) on the master channel. That way, you can solo a sound and see if it is mono or stereo.

During a mix: While there are variations, the basic theme of mixing follows that bass, kick, snare, lead vocals and sometimes a hi-hat such as an open hat are centered mono in the mix forming a solid column. There are differences pending genre though. In Imager, these will be a straight line down the centre. Other elements such as synths, pads, backing vocals, harmonies, percussion will be stereo or slightly more to the left or right. Using Imager, you can see where an instrument is located in the stereo field. More to the left, more to the right and then use a panning tool to shift it over.
At this stage, you can look up music theory to gauge amounts of left/right stereo panning based on convention for your genre.
When working in mono, I did not realise that if you have a mono sound and pan it hard left, then take the exact same sound and pan it hard right, you introduce phasing and can make the sound cancel out when collapsed into mono. You have to add an effect such as a delay, distortion or something else to make it different – in order to make it stereo. Some sample packs contain false information. A mono track copied twice to two stereo tracks. If you split the sound into two mono tracks to with panning, this will cause a problem and it caught me out before being able to hear in stereo with the implant. Therefore, it is important to be conscious of this if mixing in mono. However, sending the left panned track and the right panned track to a stereo bus and placing an Imager plugin on the bus would have revealed this – if I had been aware of it!
Also, while working in mono, I did not realise that adding panning can help balance a mix because sometimes you get two instruments that share the same space. By moving one a little to the left and one a little to the right, you create a space for that instrument to live inside that can be shared with another. This is particularly important for drums that exist in the higher part of the spectrum. It is a little harder to determine this in mono but adding a few percent to the pan option (for exampple +3 for one hat, -5 for another) will go a long way and probably be enough to do the job for a lot of mixes.
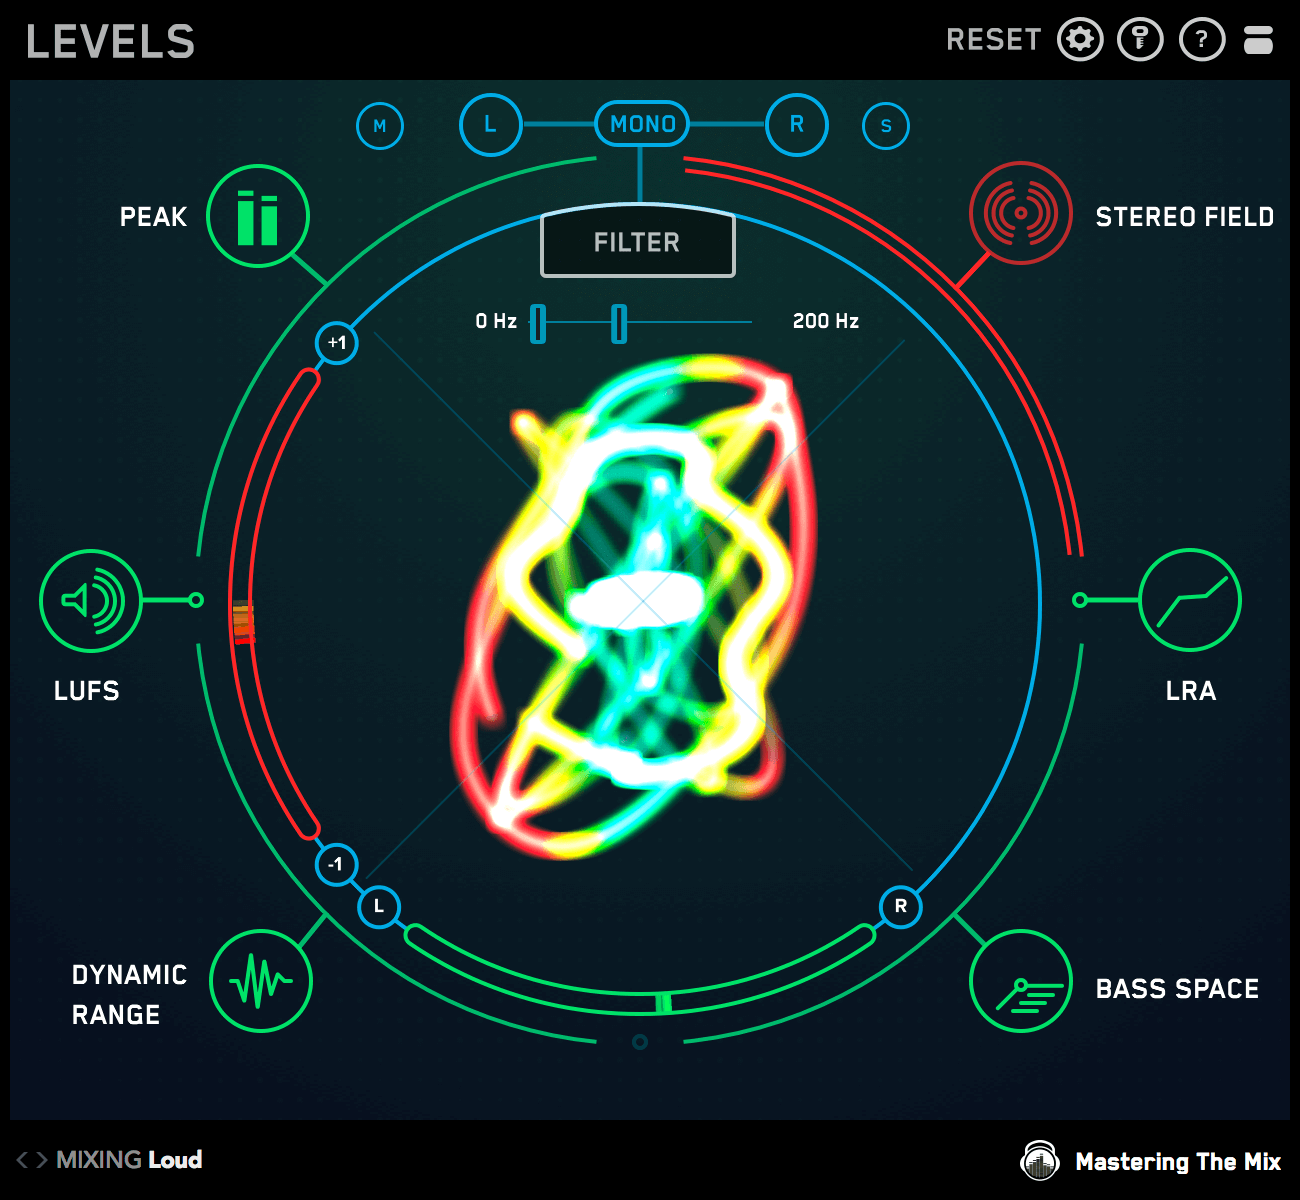
Towards the end of them mix, head back to Mastering the Mix Levels. Switch on the stereo image and take a look. If the meters are in the red, then you have to look at the image to see which area/instruments are causing it go red. You can solo each instrument and build it up bit by bit until it turns red.
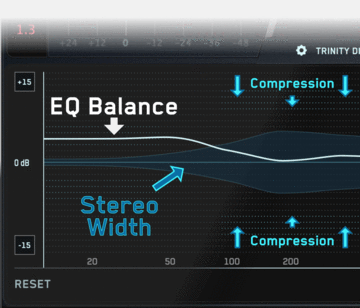
For really accurate stereo imaging, Reference 2 by Mastering the Mix provides a stereo width option. I found that this option was not enabled in the Trinitiy Display by default. Turning it on allows you to see the stereo image of your reference track and then compare it with your own. If your image is not wide enough then you can focus in on particular frequencies in your mix, for example, a mid range synth and make it wider. If the meters show the potential for phasing, then layer up another instrument and make that section wider. To make things easier, I fix the meters to a specific decibel range and then compare within that range. Often, 5dB is enough for the music I tend to make.
Finally, after getting all of the meters looking healthy, you can send a track of for mastering which is common in the audio sphere. A mastering engineer can use tools to adjust the overall stereo image and clear up smaller elements missed on mono.
In relation to other meters to help with mixing, I can recommend SPAN to feel the overall spectral output of instruments and copare to your favourite artists. Schulz Audio megascope to help see how a compressor imacts on a waveform (or the free sMexoscope). Free Bertom Audio Curve Analyser to show EQ curves from classic hardware console plugins such as SSL and Vision 4x to see decays times and energy used in an instrument.
I found that with a mono ear, while my left/right stereo perception was impossible, my front to back perception was really good. This is really useful when applyin delays and reverbs (or stacking up a delay with a reverb inside).
A final tip that I have found useful is that when I do get the chance to listen to music in front of speakers, I turn my head so that my good ear has a nice spread between the left and right speaker. I can use this to check that mixes sound decent. Although it is a simple technique, it is surprisingly effective.
This is so in depth, thank you for writing all of this out. By chance do you have any links to the final product/sample or a song or two you’d be willing to share? Would love to hear how it comes together.
Thanks Pointy Elf Ears and my pleasure. The best example where I used the techniques covered in this blog can be found here: https://youtu.be/f_qhDlbqUOQ?si=9YBV_VkEkNgpUMRQ
This track is called Fade Away. I learned a lot about movement and stereo imaging in mixing from the Hyperbits Master Class course and feel like this is the first track where I have been able to pull all of this off, due to all of the visual checks.