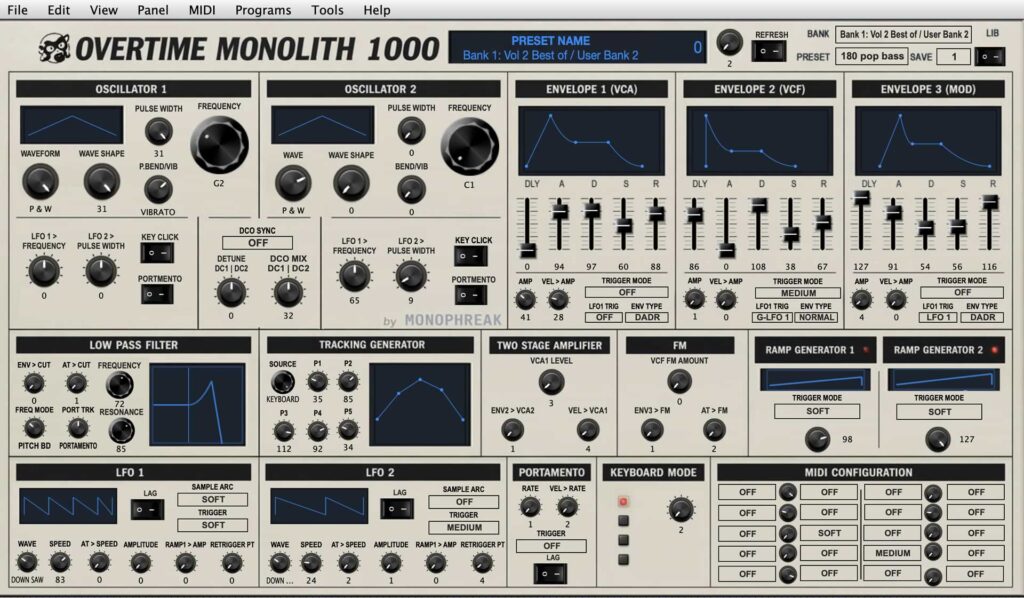
In today’s post, I am going to look at the chip mod for the Oberheim Matrix 1000 by Tauntek (link). As per the fantastic post:
If you can find someone local to you that can program a 27C256, that may be a better option, to avoid shipping and customs charges
So this is the point of today’s post – how do we go about burning the ROM? I couldn’t find any guides that specifically cover this part which means… time to demystify the process. Time to work out that missing piece of the puzzle. It’s another step into the unknown but at this stage, I have built up some experience and have some tools so let’s unpick this comment and work out how to compete this step. If you have the tools, chips are well – cheap as chips (yes, bad pun intended) – which makes this a cheap upgrade. Now, as per usual, this is not a guide and you if you copy this, you follow at your own risk. It is my diary of events, going through the motions and steps to make this work. I record these on steps on my blog in case I need to retrace events.
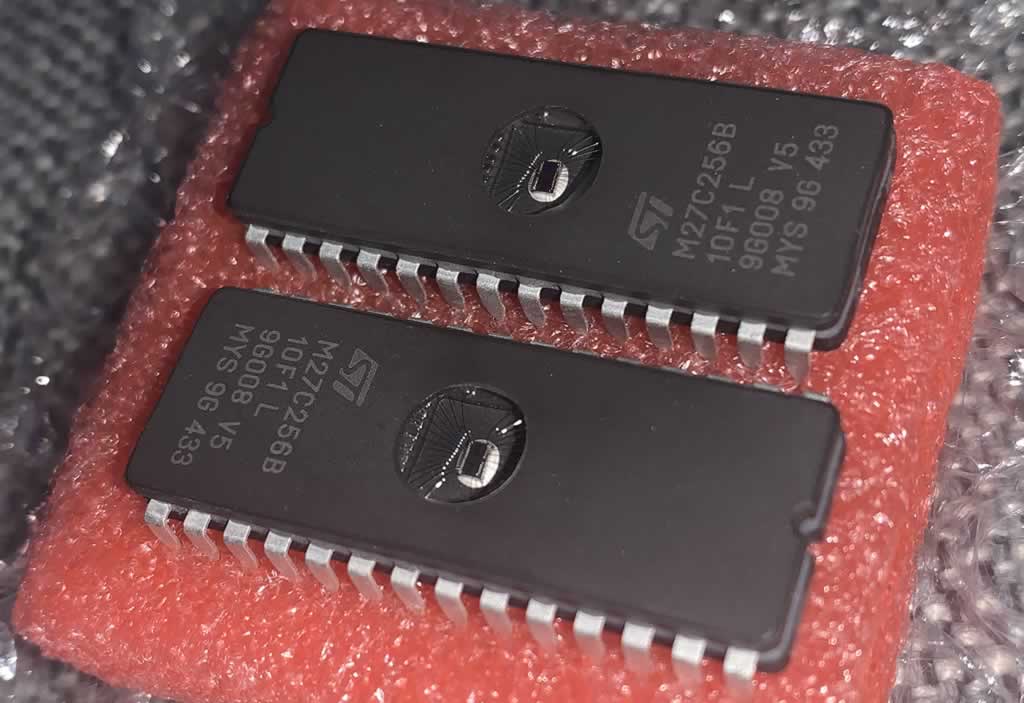
First things – we need chips! 27C256 to be precise but others could potentially work. I went with these for £2.79 at the time of writing (link). The title for this “2pcs/lot M27C256B-10F1 12F1 100F1 70F1 M27C256B 27C256 CDIP-28 new and Original In Stock”. I received two ST M27C256B 10F1 L 9G008 V5 MYS 9G 433 chips in great condition.
Next up – I need a programmer. I use an XGecu T48 (approx £35 on an AliExpress sale) which has been serving me well for ages now.
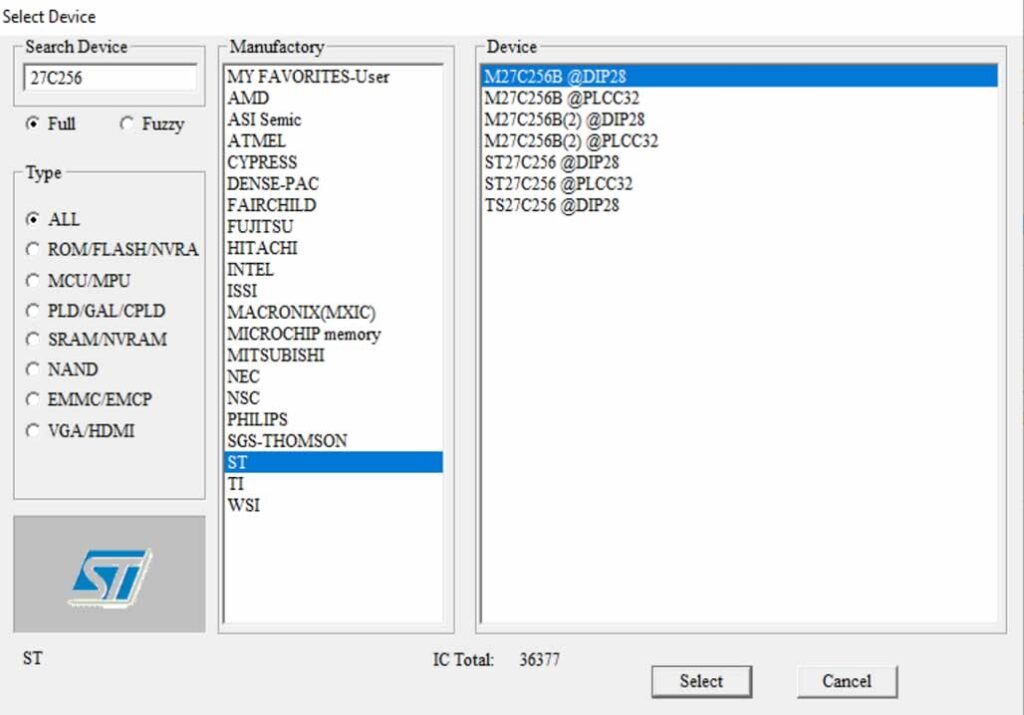
When the XGecu loads up, select the chip and type in 27C256 to find the correct chip. I entered the details of my brand and model.

Next, run a blank check on your chip.
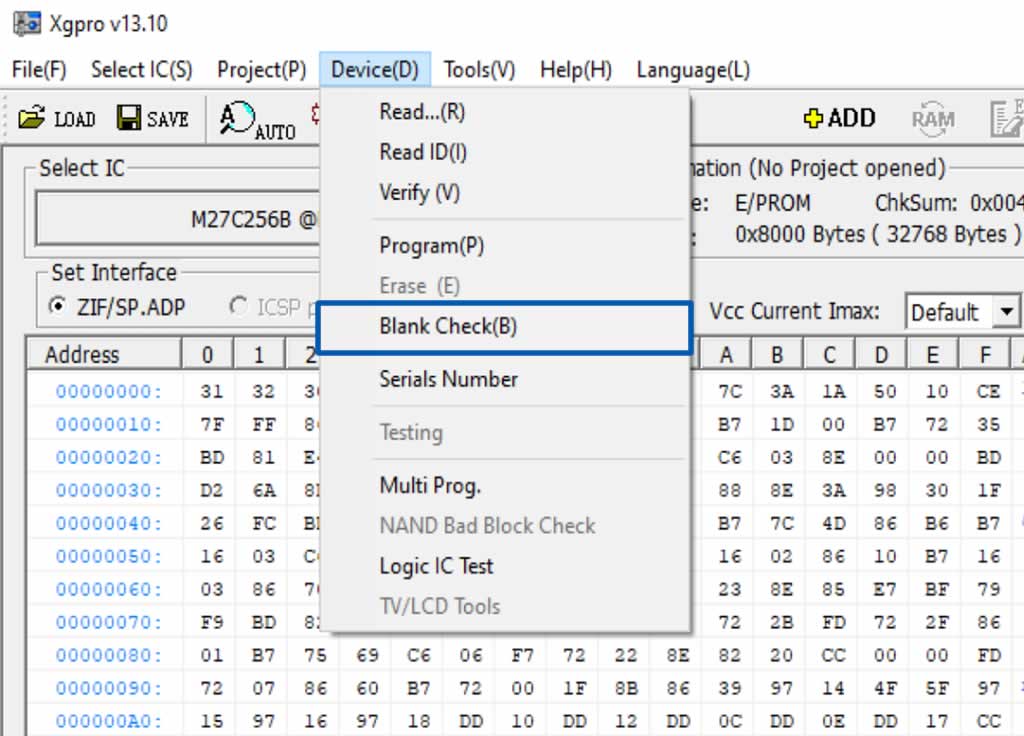
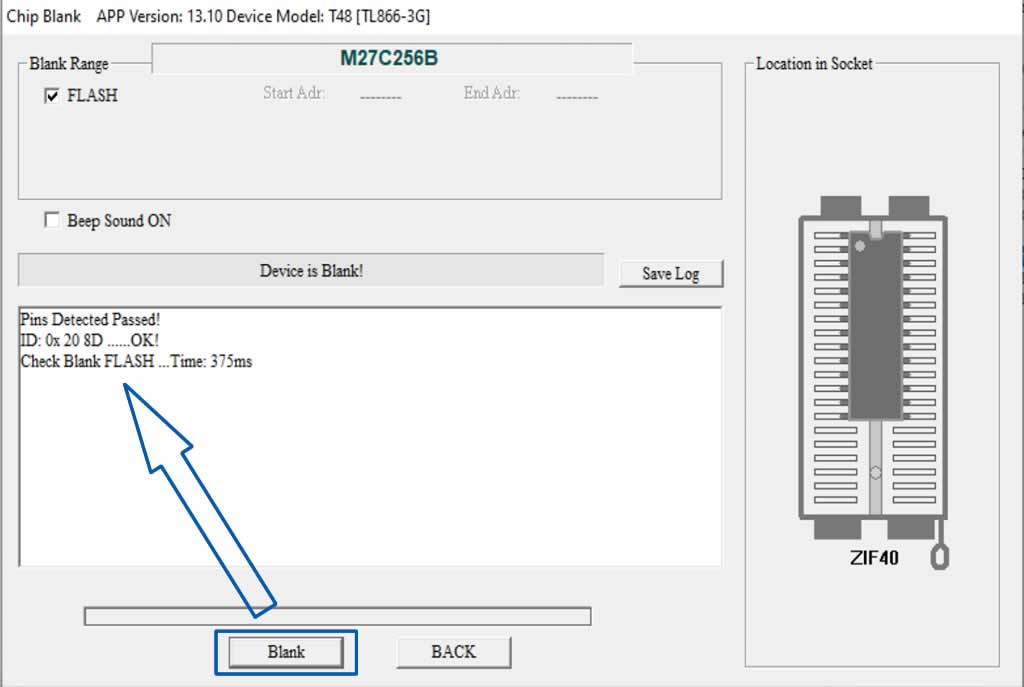
You should get a Device is Blank! message if all has gone to plan.
Now load the image

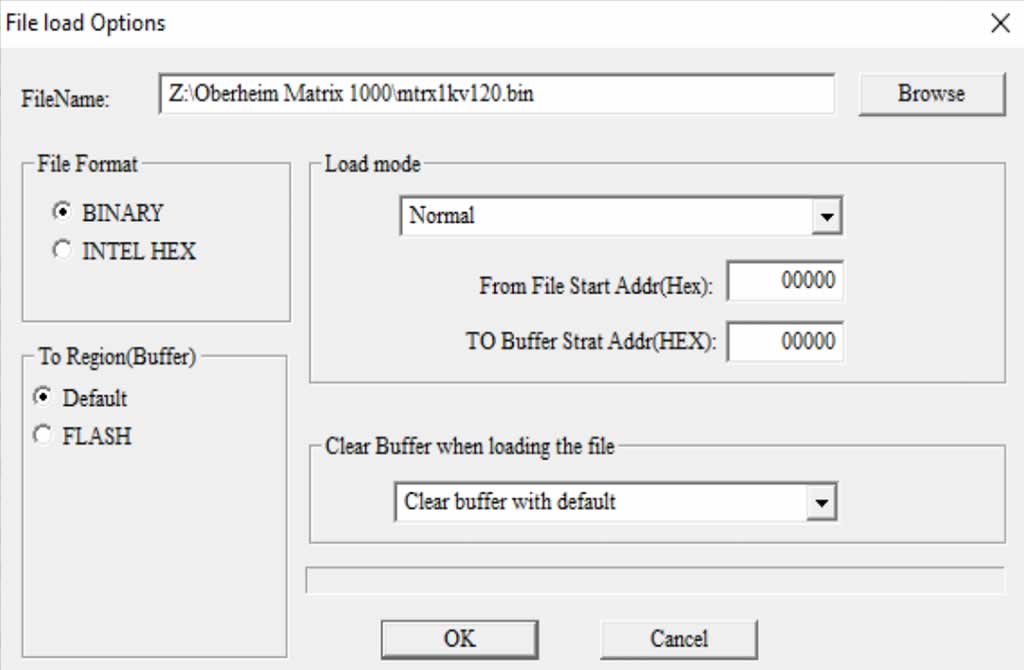
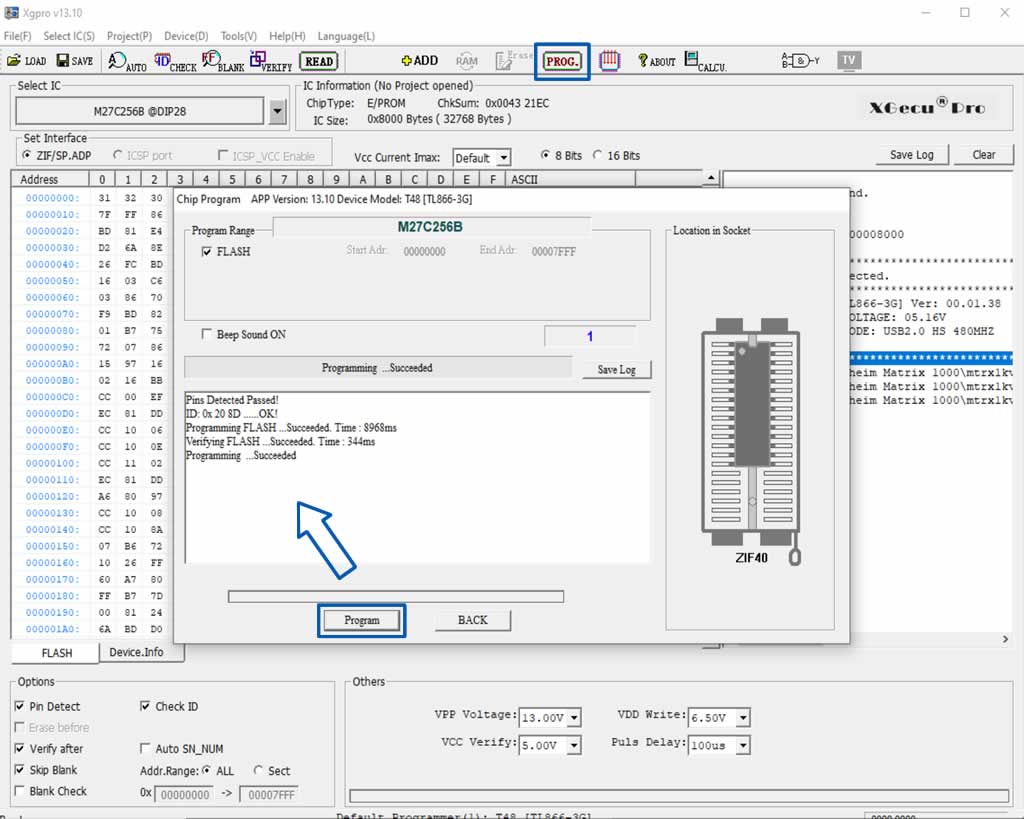
Click okay and final stage, flash. Click on the PROG button, then the Program button and let it flash!
The next step will be to lift the hood and test out the new chip mod. Everything with the flashing was very straight forward but the next key question – has it worked? let’s test it out. With the Obeheim powered off, unplugged and left to sit for a few days, I unscrewed the screws, three per side and back, the lid slide off easily.
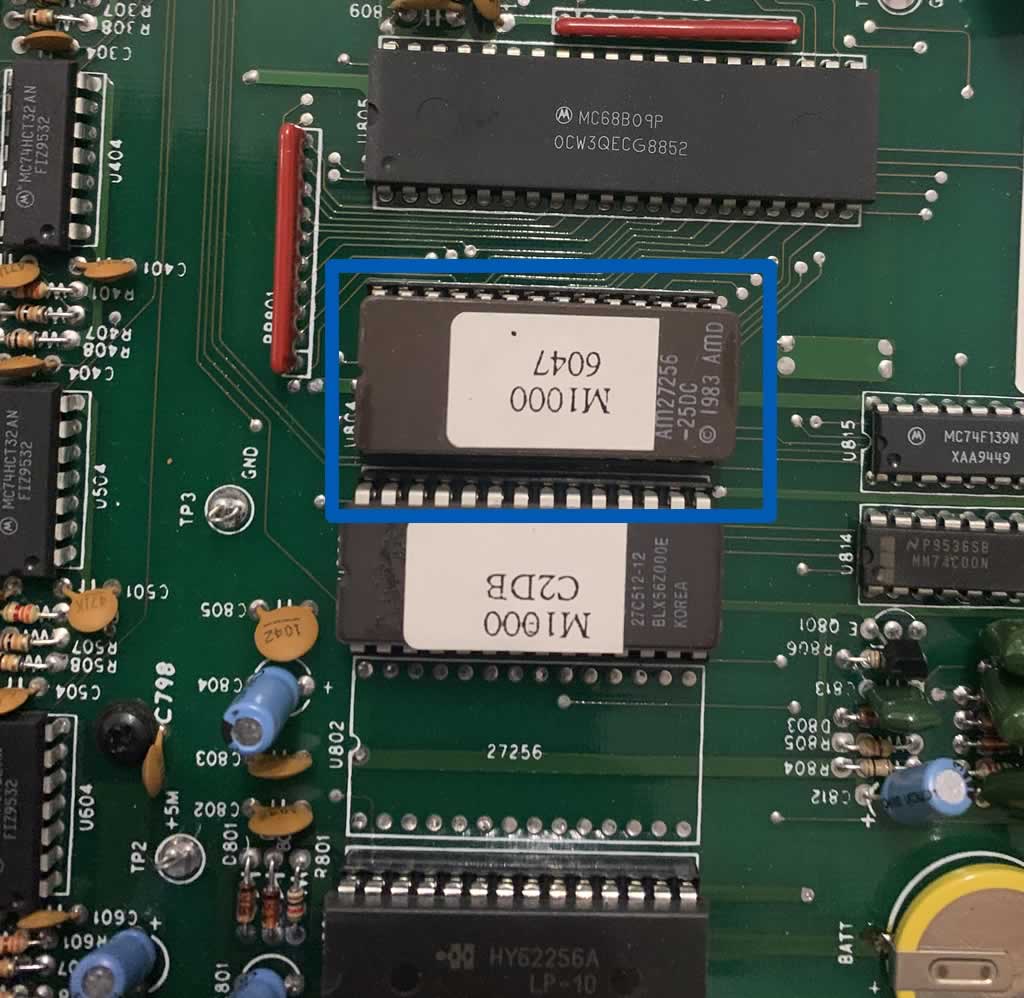
Okay, so tried plucking but it was rather tricky so read the instructions on the Tauntek page. There is a really good guide on removing the chip and I opted for the flat headed screwdriver method which far better than the chip plucker. Make sure that the notches are in the correct place. In my case, both are at the top of the photo (below).
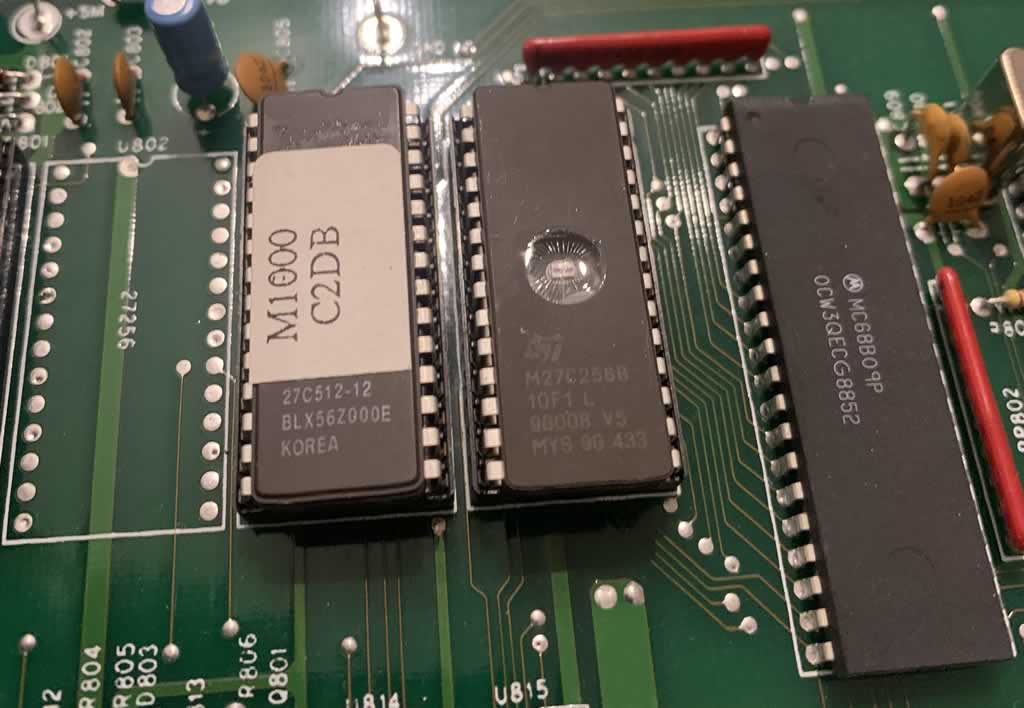
and finally, lets power it up.
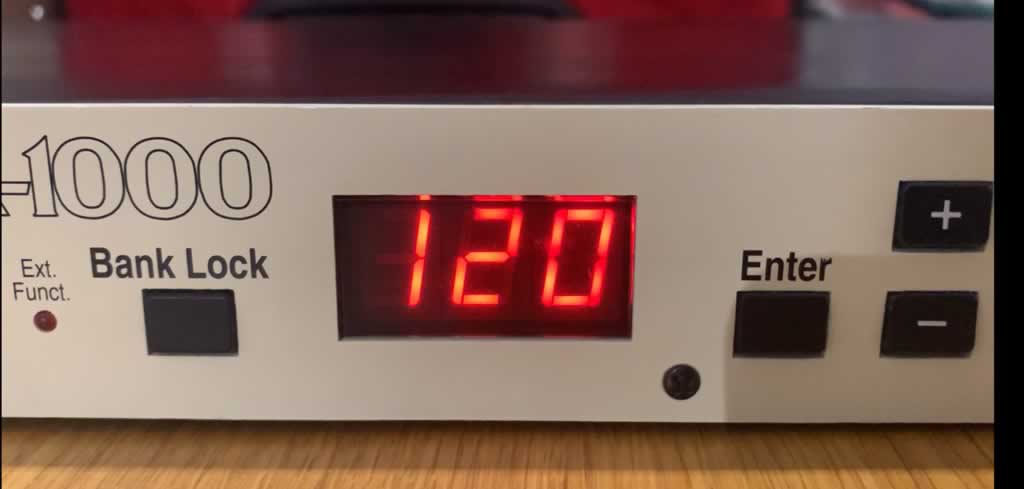
Success!
All in all – so much easier and cheaper than I expected. Total cost, £2.79 (divided by two since I had one left over chip) because I already had a trusted XGecu T48. At this stage, the XGecu has paid for itself many times over.
With this project successfully completed, I can finish off my Oberheim Matrix 1000 editor/plugin! Hoorah! Yes – I know, plentry editors out there already but I want more. I want the AU/VST functionality for DAW automation plus various librarian features in a glossy package.