In today’s post, I am going to look at the chip mod for the Oberheim Matrix 1000 by Tauntek (link). As per the fantastic post:
If you can find someone local to you that can program a 27C256, that may be a better option, to avoid shipping and customs charges
So this is the point of today’s post – how do we go about burning the ROM? I couldn’t find any guides that specifically cover this part which means… time to demystify the process. Time to work out that missing piece of the puzzle. It’s another step into the unknown but at this stage, I have built up some experience and have some tools so let’s unpick this comment and work out how to compete this step. If you have the tools, chips are well – cheap as chips (yes, bad pun intended) – which makes this a cheap upgrade. Now, as per usual, this is not a guide and you if you copy this, you follow at your own risk. It is my diary of events, going through the motions and steps to make this work. I record these on steps on my blog in case I need to retrace events.
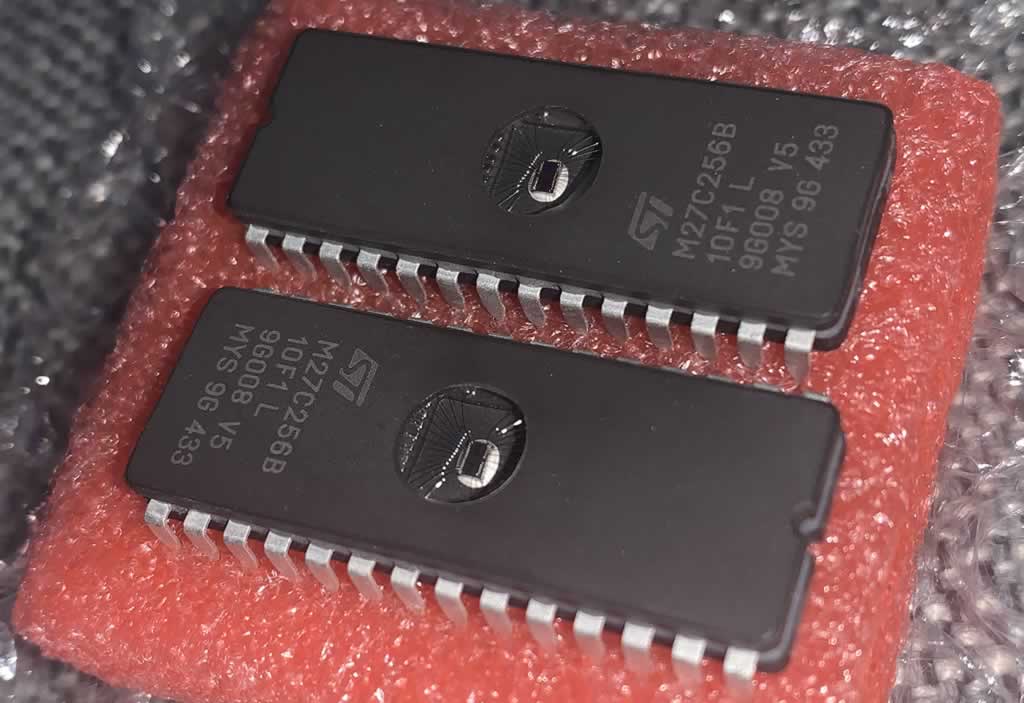
First things – we need chips! 27C256 to be precise but others could potentially work. I went with these for £2.79 at the time of writing (link). The title for this “2pcs/lot M27C256B-10F1 12F1 100F1 70F1 M27C256B 27C256 CDIP-28 new and Original In Stock”. I received two ST M27C256B 10F1 L 9G008 V5 MYS 9G 433 chips in great condition.
Next up – I need a programmer. I use an XGecu T48 (approx £35 on an AliExpress sale) which has been serving me well for ages now.
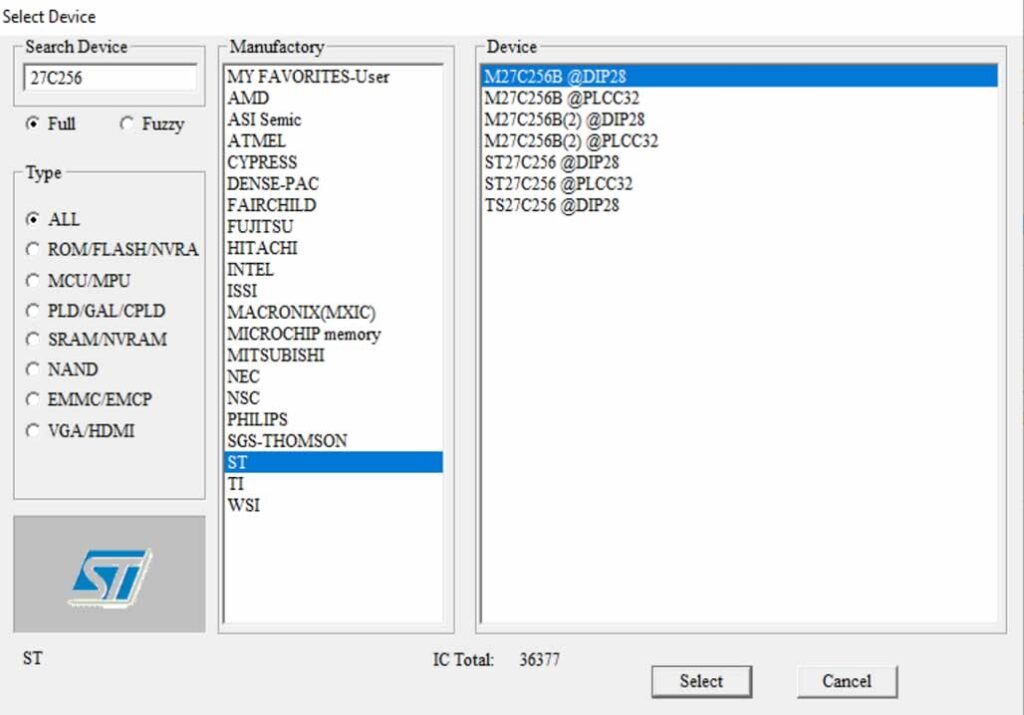
When the XGecu loads up, select the chip and type in 27C256 to find the correct chip. I entered the details of my brand and model.

Next, run a blank check on your chip.
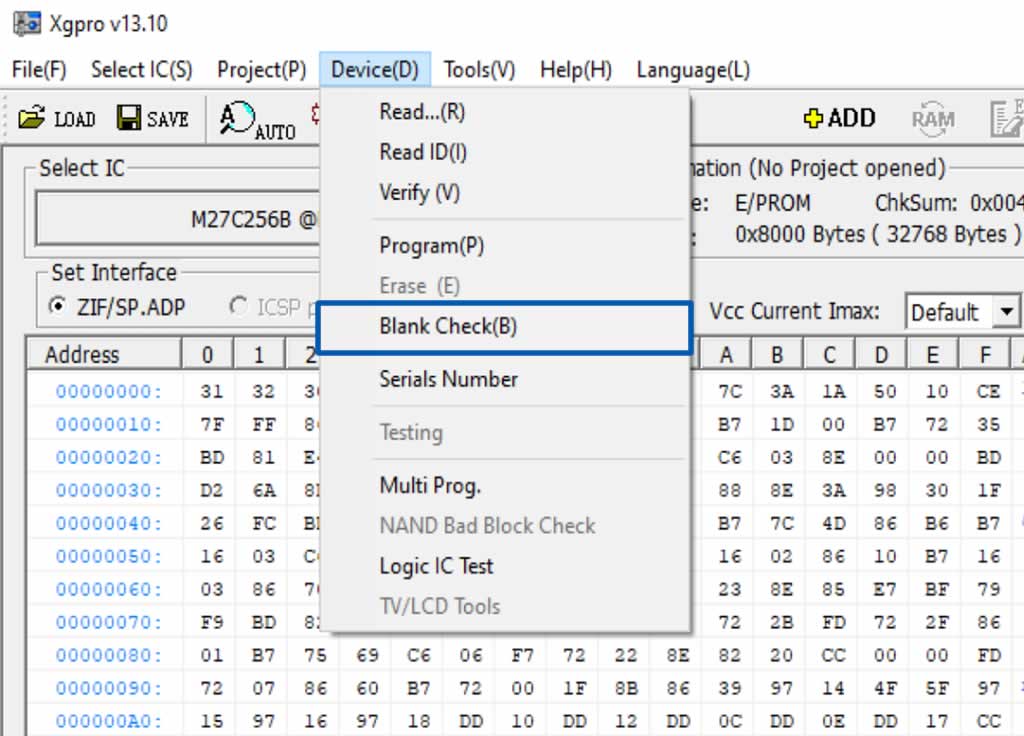
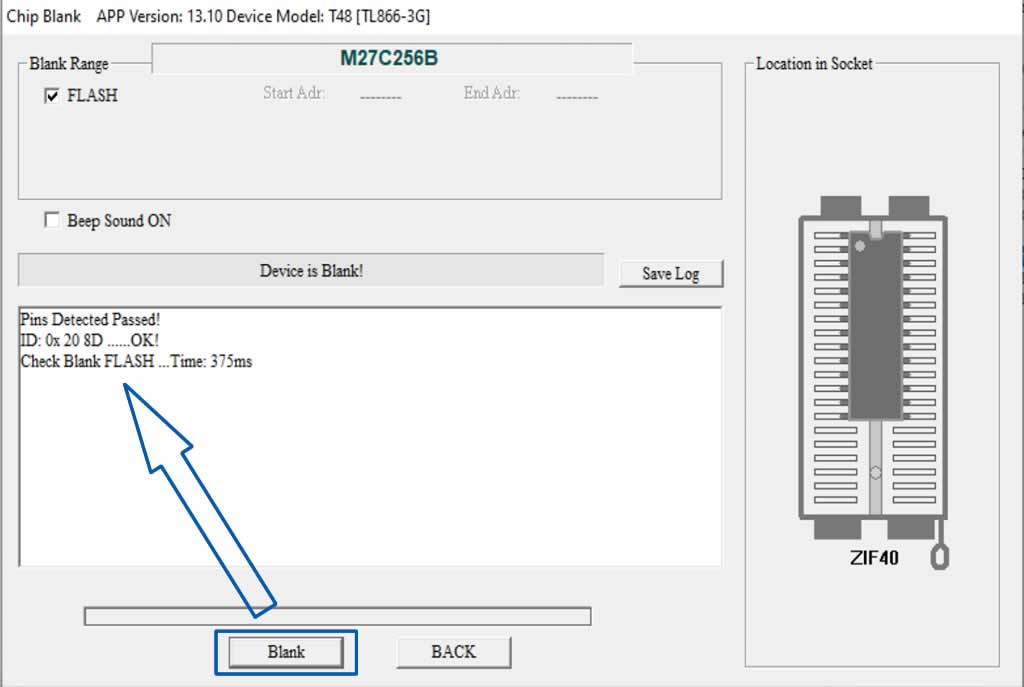
You should get a Device is Blank! message if all has gone to plan.
Now load the image

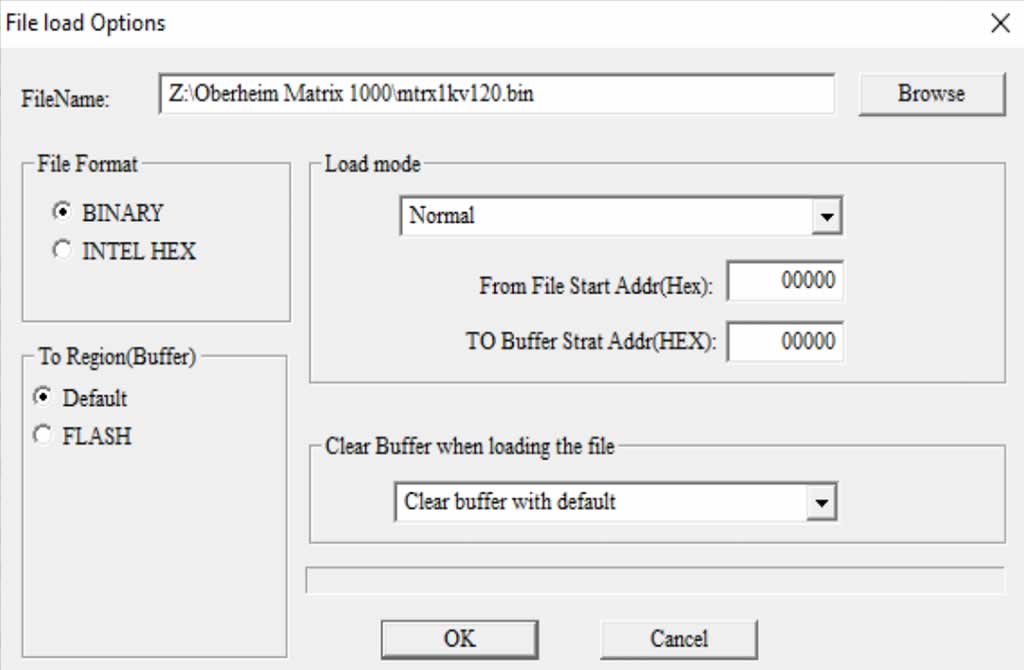
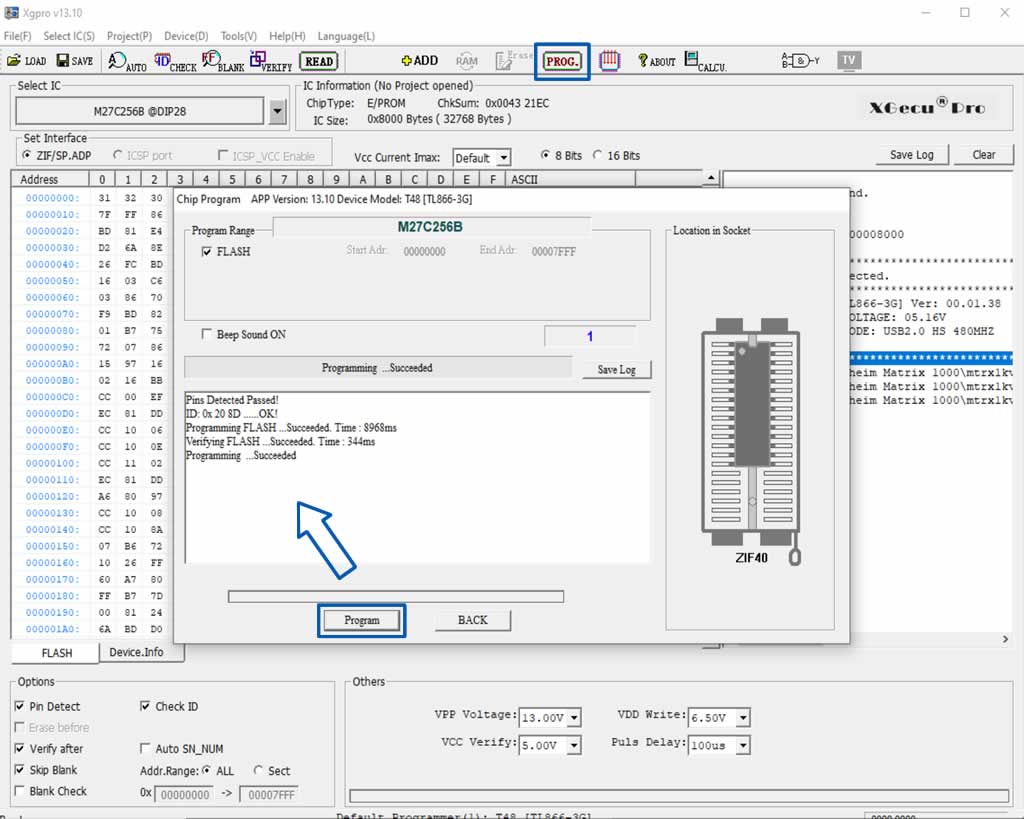
Click okay and final stage, flash. Click on the PROG button, then the Program button and let it flash!
The next step will be to lift the hood and test out the new chip mod. Everything with the flashing was very straight forward but the next key question – has it worked? let’s test it out. With the Obeheim powered off, unplugged and left to sit for a few days, I unscrewed the screws, three per side and back, the lid slide off easily.
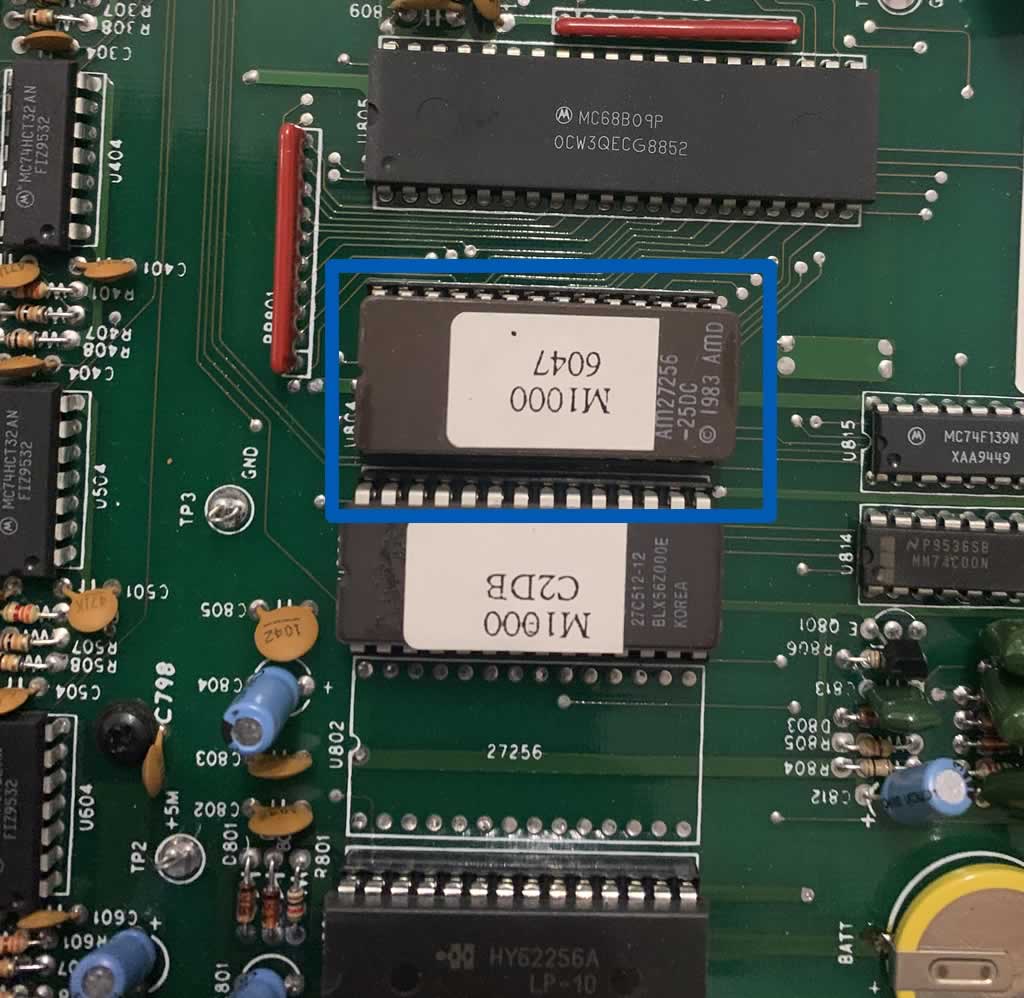
Okay, so tried plucking but it was rather tricky so read the instructions on the Tauntek page. There is a really good guide on removing the chip and I opted for the flat headed screwdriver method which far better than the chip plucker. Make sure that the notches are in the correct place. In my case, both are at the top of the photo (below).
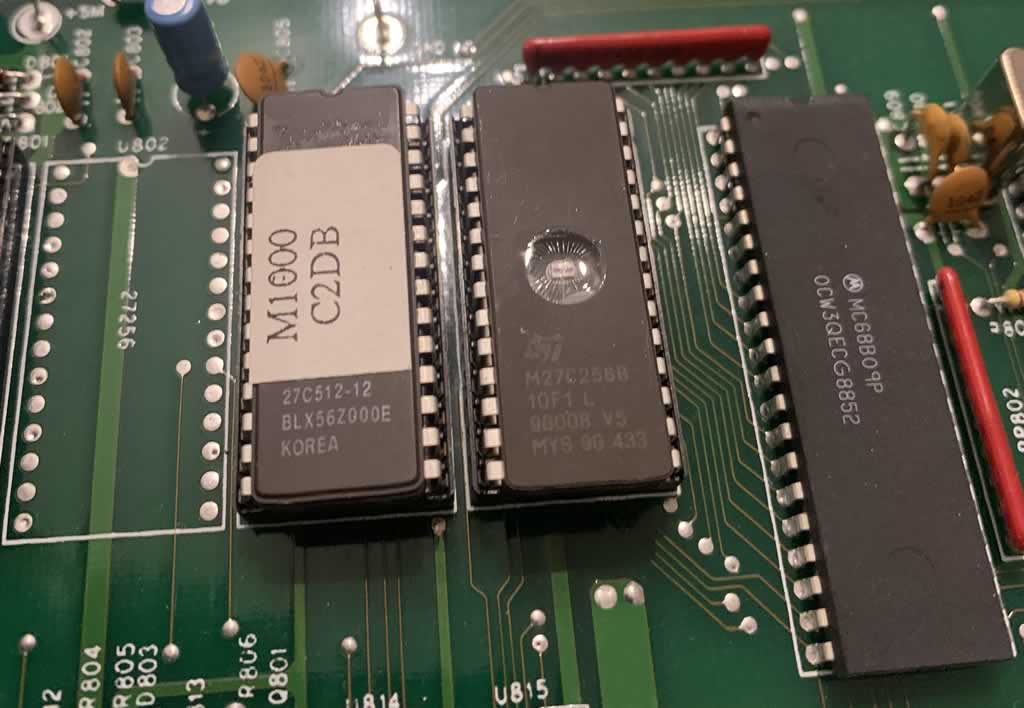
and finally, lets power it up.
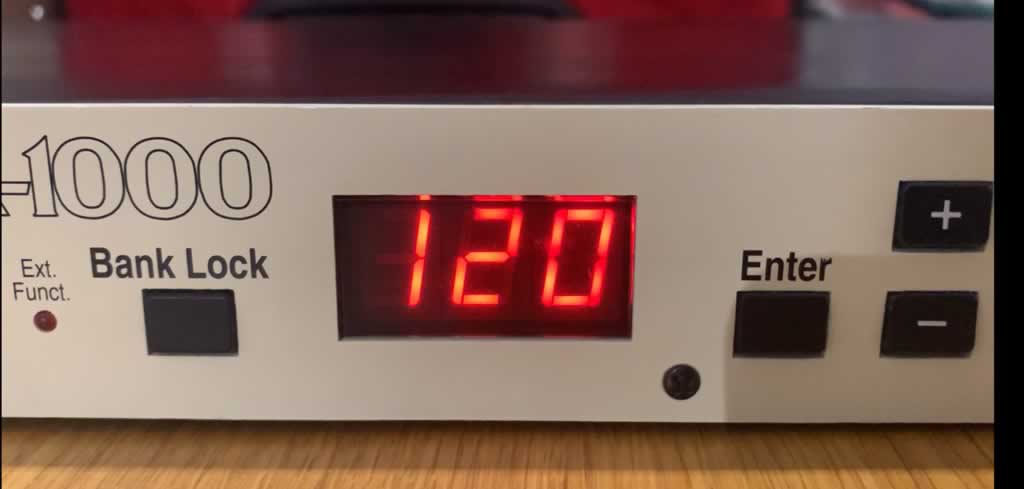
Success!
All in all – so much easier and cheaper than I expected. Total cost, £2.79 (divided by two since I had one left over chip) because I already had a trusted XGecu T48. At this stage, the XGecu has paid for itself many times over.
Version 1.21 Update – Assign Rob Fix
After a quick Google while working on the editor to locate CC values, I found that there was a v1.21 version with a fix to ‘Assign Rob’. When all six voices are used up and another is needed, assign rob will take an existing voice for re-use instead of waiting for another to be freed up, this allows the notes to continue instead of being locked until one is released and (in my opinion) sounds more natural for large chord progressions or chords and arp combos. Bob explained what this means at the bottom of the post, linked at the start of the blog post and more details can be found here (link). As part of my no budget approach, I decided to decipher what the fix means and how to apply it. In a nutshell, you head to line V1.20 5360 in the V1.20 rom and look for column 9, updating 81 02 22 02 to 81 03 22 02. Remember, we start at 0 so this looks like:
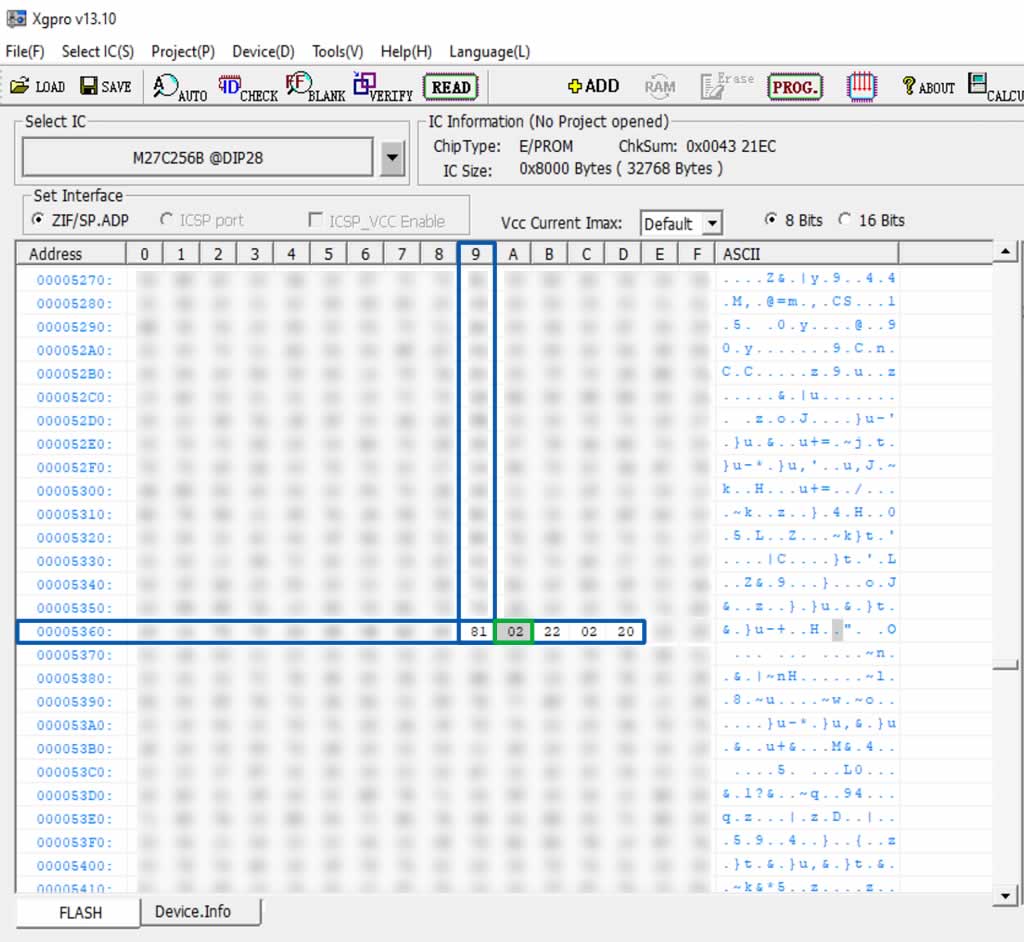
In the T48, next step is to click into the hex value of 03 and change to 03. If you complete this successfully, it will turn red to indicate it has been edited.

I then saved my ROM .bin file with the fix and will repeat the update on the weekend. As per usual, I will report back to see if everything has gone successfully which at this point, I’m pretty confident it will. So, while my firmware will forever display v1.20, it will apply the ‘assign rob’ fix that v1.21 addresses. Feeling quite happy I have that spare chip and documented the process. Plus, saves me yet again on another purchase. If I had bought the ROM, with this update, I’d have sunk about £40 after postage. By learning how to do this myself, it has cost me £2.79 and I believe the other chip can still be erased and re-used.
This impact of the bug fix can be found towards the end of this short video:
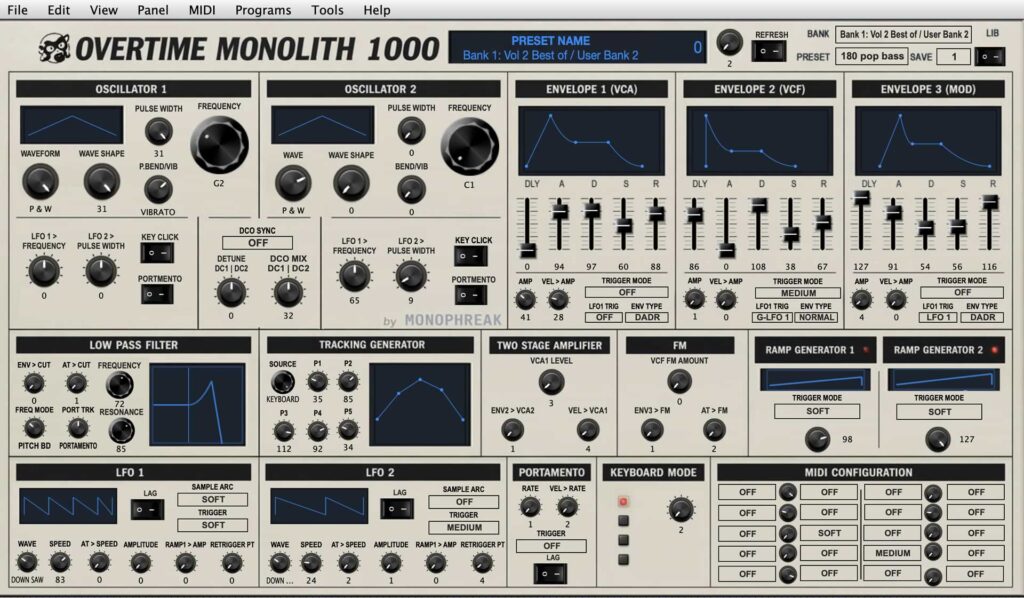
With this project successfully completed, I can finish off my Oberheim Matrix 1000 editor/plugin! Hoorah! Yes – I know, plentry editors out there already but I want more. I want the AU/VST functionality for DAW automation in a Mac environment plus various custom librarian features in a glossy package.